 Wildlife Tag
Field Investigation: Living or Non-living
Students learn how to identify and compare living and non-living things, and then use these patterns to analyze their observations in the outdoor classroom.
Questions? Contact us at oc@alabamawildlife.org. .
| Click on the orange links to access free educational materials: Lesson Plans | ALSDE Standards Taught |
 |
| Activity Page: (Word Doc / PDF) with Answer Page | |
| Outdoor Activity Materials: activity pages, clipboards, pencils (garden trowels & magnifying glasses optional) | |
| Step 1: Engage through Discussion | |
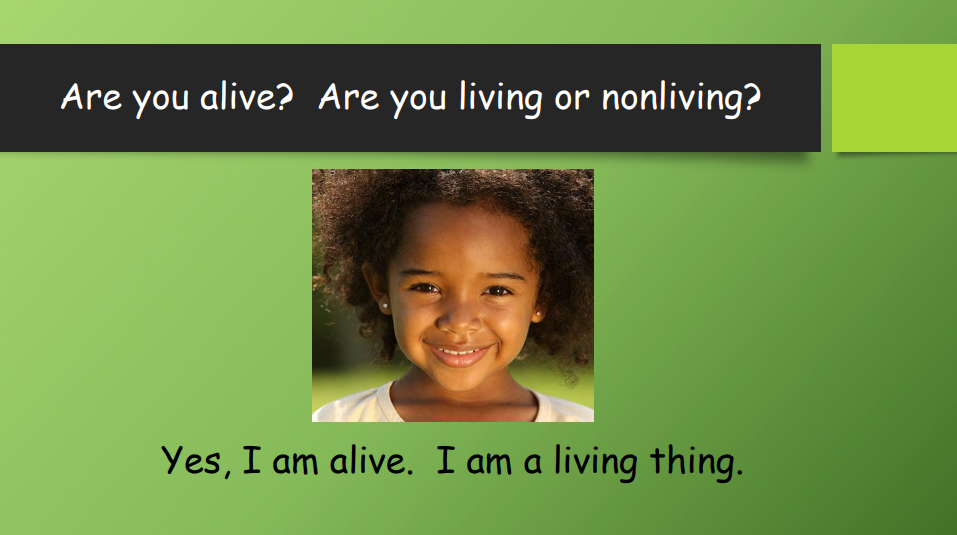
| Engage the students and capture their interests with an Interactive Q&A (or as PDF) that allows you to click through the questions one at a time. You can gauge your students' understanding of the topic as they answer the questions. Print and use the Q&A Info Sheet (or as Word Doc) to anticipate the next question in the Interactive Q&A and to guide the conversation with the students. (Note: For the PowerPoint (PPT), click "Slide Show" & "From Beginning" to display the questions and answers separately.) |
 |
Use these tools to continue the discussion:
|
|
|
Step 2: Explore with Literature
|
||
| As you read this book, you can further explore the topic and discuss your students' experiences and knowledge around the topic: What’s Alive? (Let's Read & Find Out Science Series: Level 1) by Kathleen Weidner Zoehfeld (ISBN: 978-0064451321) |
||
|
Step 3: Explain with an Educational Video
|
||
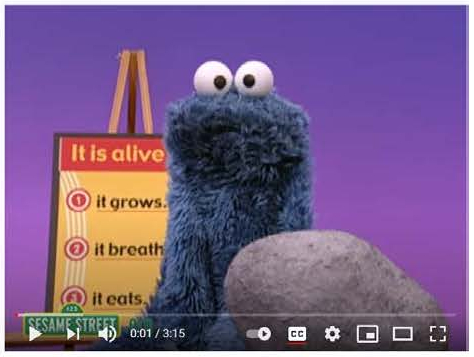
| Use this educational video to help explain the topic in more detail: Sesame Street’s “Who’s Alive?” (3:15 min.) @ https://www.youtube.com/watch?v=giWqEPNLtBo |
 |
|
| Step 4: Elaborate with a Field Investigation in the Outdoor Classroom | |
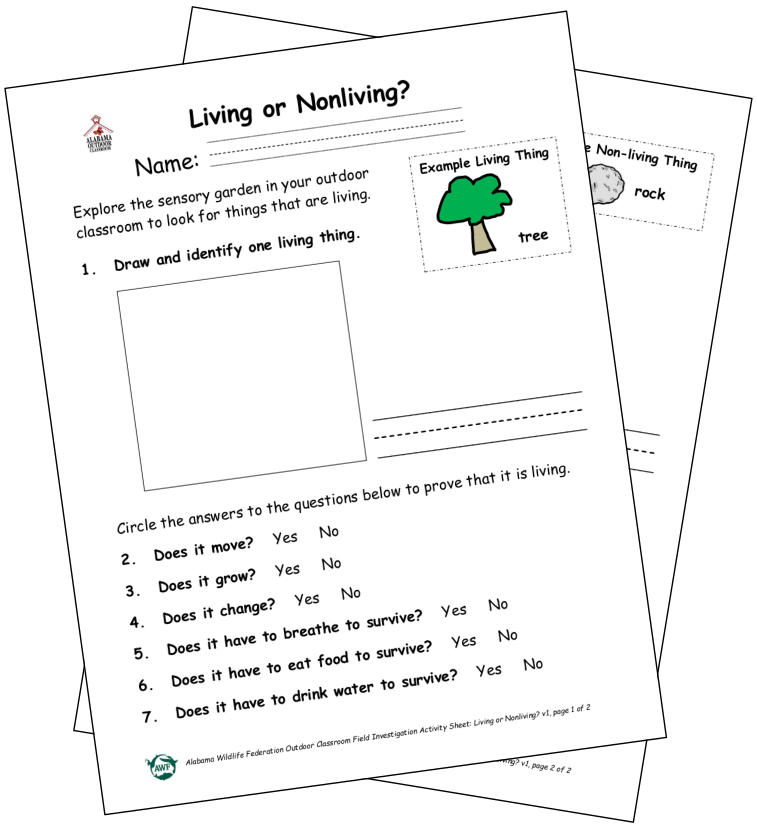
| Students apply what they have learned as they investigate the topic in your outdoor classroom and record their real-world observations on their Living of Nonliving Field Investigation Activity Page (or as Word Doc). | |
Activity Tips
Outdoor Discovery:
|
|
Indoor Discussion:
|
|
| Step 5: Evaluate with an Assessment Activity | ||
| Review and assess the students’ observations and answers on their activity page: Answer Page |
 |
|
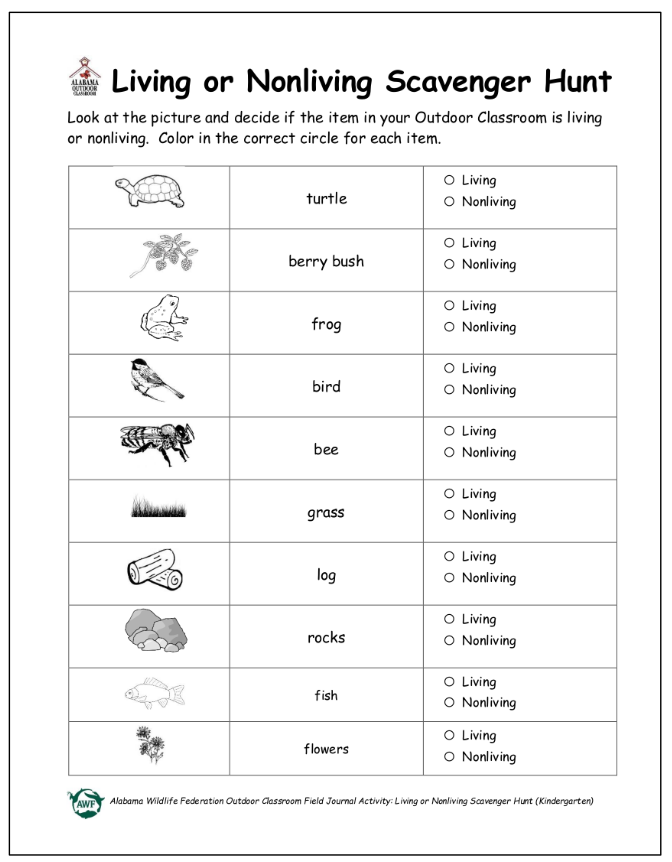
| Evaluate the students' understanding of the topic with one of the following assessment tools: | ||
|
||
Questions? Contact us at oc@alabamawildlife.org. .